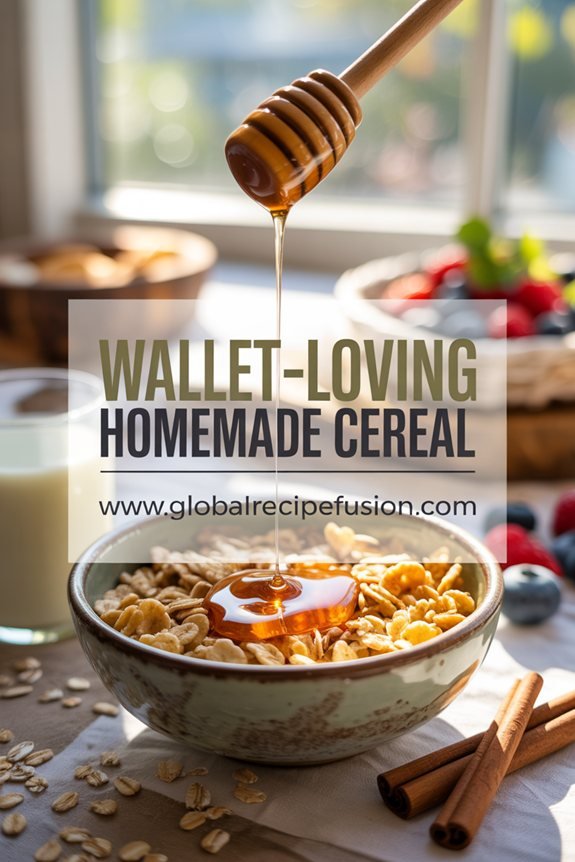
Why You’ll Love this Wallet-Loving Homemade Cereal
Frugality never tasted so good!
You’ll absolutely adore how this homemade cereal transforms simple pantry staples into a breakfast that rivals expensive store brands. Each crunchy, honey-kissed batch costs just pennies per serving compared to those $5 boxes gathering dust in your cupboard.
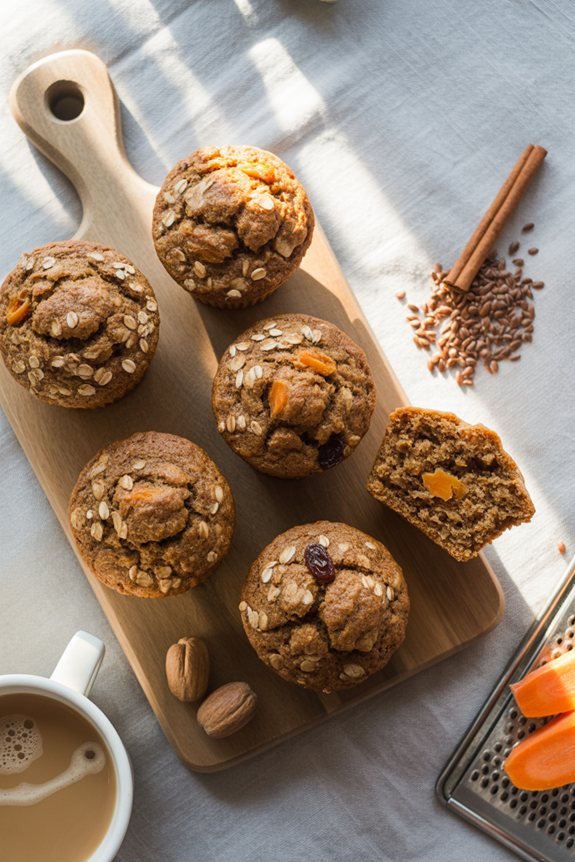
The warm aroma of cinnamon and vanilla will fill your kitchen, creating that cozy morning atmosphere we all crave.
Your family won’t believe something this delicious came from your oven, not a factory. And without all those preservatives and mystery ingredients? You’ll feel good about what’s nourishing your loved ones.
Recipe Information for Wallet-Loving Homemade Cereal
This budget-friendly homemade cereal brings traditional stovetop and oven baking methods together for a wholesome breakfast option that’s both economical and delicious.
- Prep Time: 5 minutes
- Cook Time: 19 minutes
- Category: Breakfast
- Method: Baking
- Cuisine: American
- Yield: 4 cups cereal
What Ingredients are in Wallet-Loving Homemade Cereal?
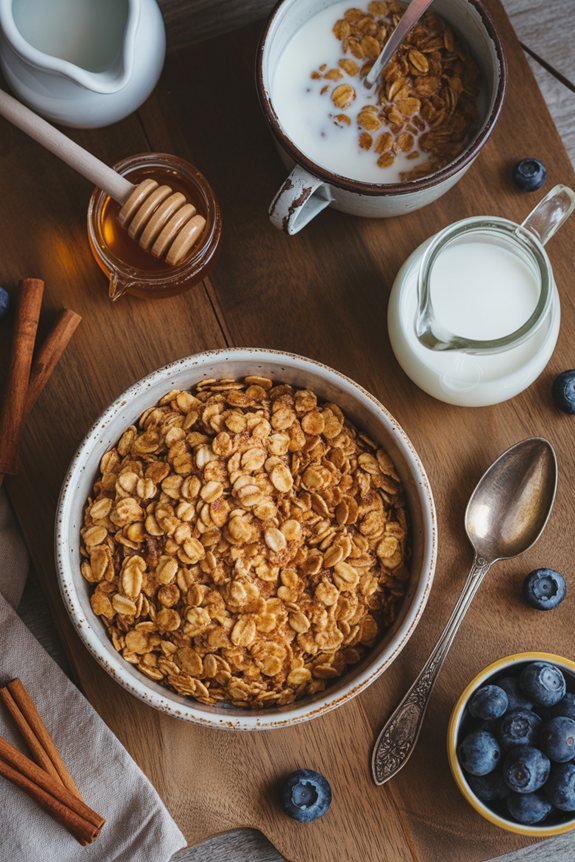
This homemade cereal recipe employs simple, affordable ingredients that most people already have in their pantry. The base is old-fashioned oats, which provides a hearty texture and nutritional value, while a combination of natural sweeteners adds just the right amount of flavor without being overly sugary.
- 4 cups old fashioned oats, uncooked
- 1 tablespoon canola oil
- 2 tablespoons maple syrup
- 1/4 cup honey
- 2 teaspoons vanilla
- 1/4 teaspoon cinnamon
- 3/8 teaspoon kosher salt (less if using regular salt)
- Butter-flavor cooking spray
The beauty of this ingredient list is its simplicity and versatility. You can easily substitute the canola oil with coconut oil or another neutral oil you prefer. The sweetness level can be adjusted by changing the ratio of honey to maple syrup, and additional spices like nutmeg or cardamom can complement the cinnamon for different flavor profiles. For those with dietary restrictions, kosher salt can be replaced with sea salt or regular table salt (using slightly less as noted).
How to Make this Wallet-Loving Homemade Cereal
Making your own budget-friendly cereal is surprisingly simple and requires minimal hands-on time. This recipe transforms plain oats into a crunchy, lightly sweetened breakfast option that costs significantly less than store-bought varieties. The process involves coating the oats with a mixture of natural sweeteners and warming spices, then baking them until they reach the perfect level of crispness.
- Preheat your oven to 350°F and spray a 10×15 inch jelly roll pan with butter-flavor cooking spray. (For easier cleanup, also spray your mixing bowls and spatula.)
- In a small bowl, combine 1 tablespoon canola oil, 2 tablespoons maple syrup, 1/4 cup honey, 2 teaspoons vanilla, 1/4 teaspoon cinnamon, and 3/8 teaspoon kosher salt. Mix well until all ingredients are incorporated.
- Place 4 cups of old-fashioned oats in a large bowl.
- Pour the liquid mixture over the oats and stir thoroughly until all oats are evenly coated.
- Spread the coated oats evenly across the prepared jelly roll pan.
- Bake for 10 minutes, then remove from oven and stir the cereal to guarantee even browning.
- Return to the oven and bake for an additional 9 minutes. (If using a dark pan, reduce the second baking time by 1-2 minutes to prevent burning.)
- Allow the cereal to cool completely before storing, as it will continue to crisp up as it cools.
Once your homemade cereal has cooled to room temperature, it’s ready to be served or stored for your next breakfast occasion. If you have celiac disease or gluten sensitivity, using gluten-free kitchen appliances can help prevent cross-contamination when preparing this recipe.
Now, let’s investigate how to enhance this humble cereal into an Instagram-worthy morning meal.
How to Plate this Wallet-Loving Homemade Cereal Like a Chef
While creating your homemade cereal saves money, presentation can transform it from basic breakfast to culinary creation.
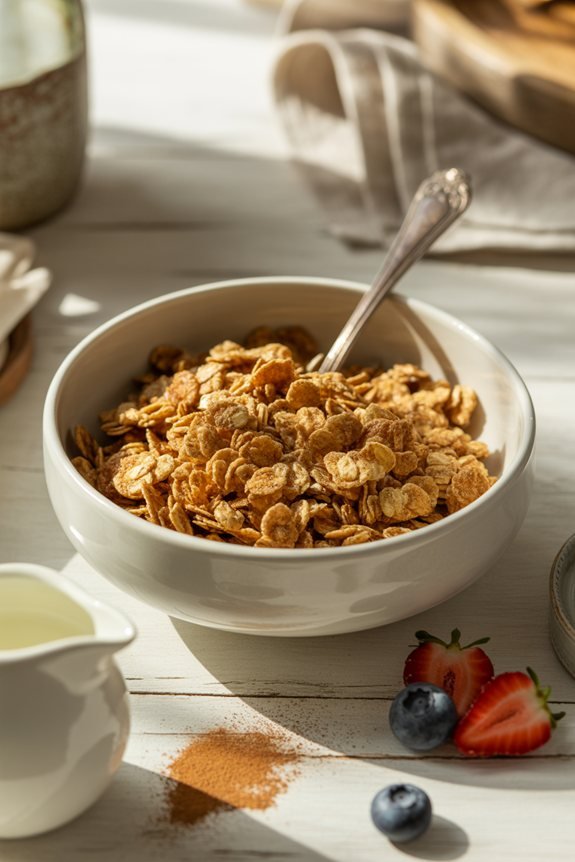
Start with a shallow, wide bowl—white ceramic provides the perfect canvas for your golden clusters to shine. Pour in your crunchy oat mixture, then add a splash of cold milk that pools around the edges, creating that satisfying morning contrast.
Garnish with seasonal berries, sliced banana, or toasted nuts for color and texture. A drizzle of honey or maple syrup creates glistening highlights.
Wallet-Loving Homemade Cereal Substitutions and Variations
Even though the basic homemade cereal recipe creates a delicious breakfast staple, you’ll love how adjustable it becomes with budget-friendly substitutions and creative variations.
Swap maple syrup with brown sugar, or try agave nectar for a different sweetness profile.
Can’t do honey? Molasses works beautifully, adding a rich, earthy undertone that’ll transport you back to grandma’s kitchen.
For texture adventures, fold in chopped nuts, dried fruits, or coconut flakes after baking.
Almond extract can replace vanilla, while cardamom or nutmeg offers cinnamon alternatives.
The possibilities? Endless, affordable, and utterly delicious!
What to Serve with Wallet-Loving Homemade Cereal
Your budget-friendly homemade cereal deserves perfect companions that won’t break the bank!
Add sliced bananas, which infuse each bite with natural sweetness and creamy texture. A dollop of plain yogurt transforms your cereal into a protein-packed breakfast that’ll keep you satisfied until lunch.
Don’t forget seasonal berries—whatever’s on sale works beautifully! In winter, thawed frozen berries create gorgeous purple swirls in your milk. Speaking of milk, try almond or oat varieties when they’re on special.
For special mornings, sprinkle on chopped nuts or a drizzle of honey. These simple additions turn your humble homemade cereal into a café-worthy breakfast bowl!
Final Thoughts
After creating this simple homemade cereal, you’ll wonder why you ever spent money on the boxed varieties.
It’s not just budget-friendly—it’s a warm, cinnamon-scented hug for your morning routine. The beauty lies in its simplicity: just oats transformed with honey’s golden touch and maple’s woodsy depth.
You’re now part of a growing community returning to basics, finding joy in what’s handcrafted.
Store your creation in an airtight container, where it’ll keep for weeks—though it rarely lasts that long in most homes!